How to connect android project to Firebase
Following this process, you can easily connect your android project to firebase
↓
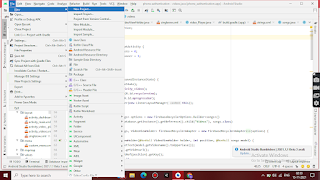
Create an android project in android studio
if you face any problem during creating a project click on Create android project in android studio
↓
↓
Click on firebase
↓
Click on authentication using a custom authentication system
↓
Click on - Add a firebase authentication SDK your app
Note-: wait until the process complete on the status bar
then
Open Firebase console on web browser
↓
click on continue
↓
Click on Add firebase
↓
Click continue
↓
To add your app, click on As your type of Your app like android, ios, etc.
↓
type in Debug signing certificate SHA-1 (
for type SHA-1
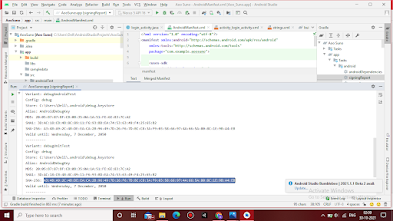
Click on Gradle on the top right corner or Search Gradle in android studio
↓
Click on Task
↓
click on android
↓
click on signingReport
↓
you can see the signing report On below(on run tab)
↓
copy sha1 and sha256 code from Variant: debug unit test and save it other any place
)
↓
paste sha1 code
↓
click on rasister app
↓
then click on Download google services JSON
↓
copy google JSON file from download section from my computer
Note- File name should have google-services.json
↓
select the project level tab on the left pane and click on an app
↓
paste on src downloaded JSON file
Note- File name should have google-services.json
↓
click on refactor
↓
Click next
↓
Click on next
↓
click on continue to console
↓
click on authentication on the left pane
↓
Click on Get started
↓
click on phone in Sign_In method tab
↓
Click on Enable
Note- should enable on if enable off
↓
click on save
↓
Click on the Project setting in the left pane in the firebase console
↓
Click on the App check tab
↓
Click on the safety net
↓
paste sha256 code in SHA-256 certificate fingerprint
↓
type 30 and select minute in Token time to live
↓
check the checkbox and click on save
↓
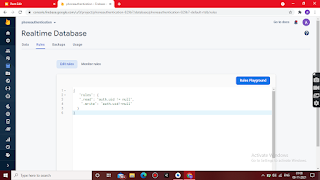
Click on Realtime left pane in Firebase console


Comments
Post a Comment